
When you’re getting ready to start sending cold emails, the first thing you should do is set up a separate domain and mailbox that you’ll use only for cold outreach. This is a necessary step mainly for your domain’s safety reason, but also it allows you to handle the responses from prospects more effectively because they won’t mix with other business emails you receive.
So without further ado, here’s a nutshell guide on how to correctly set up a separate domain and mailbox for cold emailing.
Step #1: Buy a new domain
You can buy a new domain from your current domain provider or choose a different one, such as Namecheap, Google Domains, GoDaddy, etc. It’s up to you and doesn’t matter from the cold emailing point of view. What matters, though, is your new domain’s name.
Choose a name similar to your business domain’s one. This way your prospects won’t be confused when you reach out to them. For example, pick a different domain extension. If your main domain name is colliber.com, use colliber.co or colliber.io for sending cold email campaigns.
If possible, you can buy a second-hand domain that’s one year old or even older. Domain age matters to spam filters, which are very suspicious to fresh domains used for outreach. That’s because spammers tend to use newly created domains for sending out spam. So in general, the older the domain, the better. But you should also pay attention to its reputation.
Your second-hand domain should have a good reputation to be safely used for outbound. What happens if a domain’s reputation is bad? Spam filters block emails sent from such domains, land them in a spam folder, or even put the sender on a blacklist. So make sure you check a domain’s reputation before you buy it. Use tools like Talos and MX Toolbox to get info on a domain’s reputation and whether it’s blacklisted.
And what about using a free Gmail account for cold emailing? You can do that, but for the sake of your professional image, branding, and consistency I recommend you use a custom domain. I wrote more about the pros and cons of both in this article:
Free Email or Custom Domain Email? Which One Is Better For Cold Emailing? >>
Step #2: Point a domain to your email hosting server
Once you bought a domain, you need to point it to the email server of your choice. If your domain and hosting come from the same provider you can usually connect them with a few clicks in the dashboard. If your domain is from a different provider than the hosting, for example, you registered your domain on GoDaddy, but you have the hosting server on HostGator, then you have to follow the steps below:
- Go to your hosting’s control panel and copy the nameservers. Here’s an example of how to do it in HostGator.
- Log in to your domain provider’s dashboard and go to your new domain’s DNS settings. Paste the nameservers under the custom nameservers and click save.
Voilà! You’re all set.
Step #3: Set up SPF and DKIM records
SPF and DKIM are two security mechanisms that prevent scammers from sending forged emails on your behalf. Setting these two records up in the DNS of your domain will move you one step closer to ensuring that emails that come from your domain are successfully delivered to customer inboxes and your domain stays safe.
Here’s how to set up SPF for the most common domain hosts:
Here’s how to set DKIM for some popular hosts:
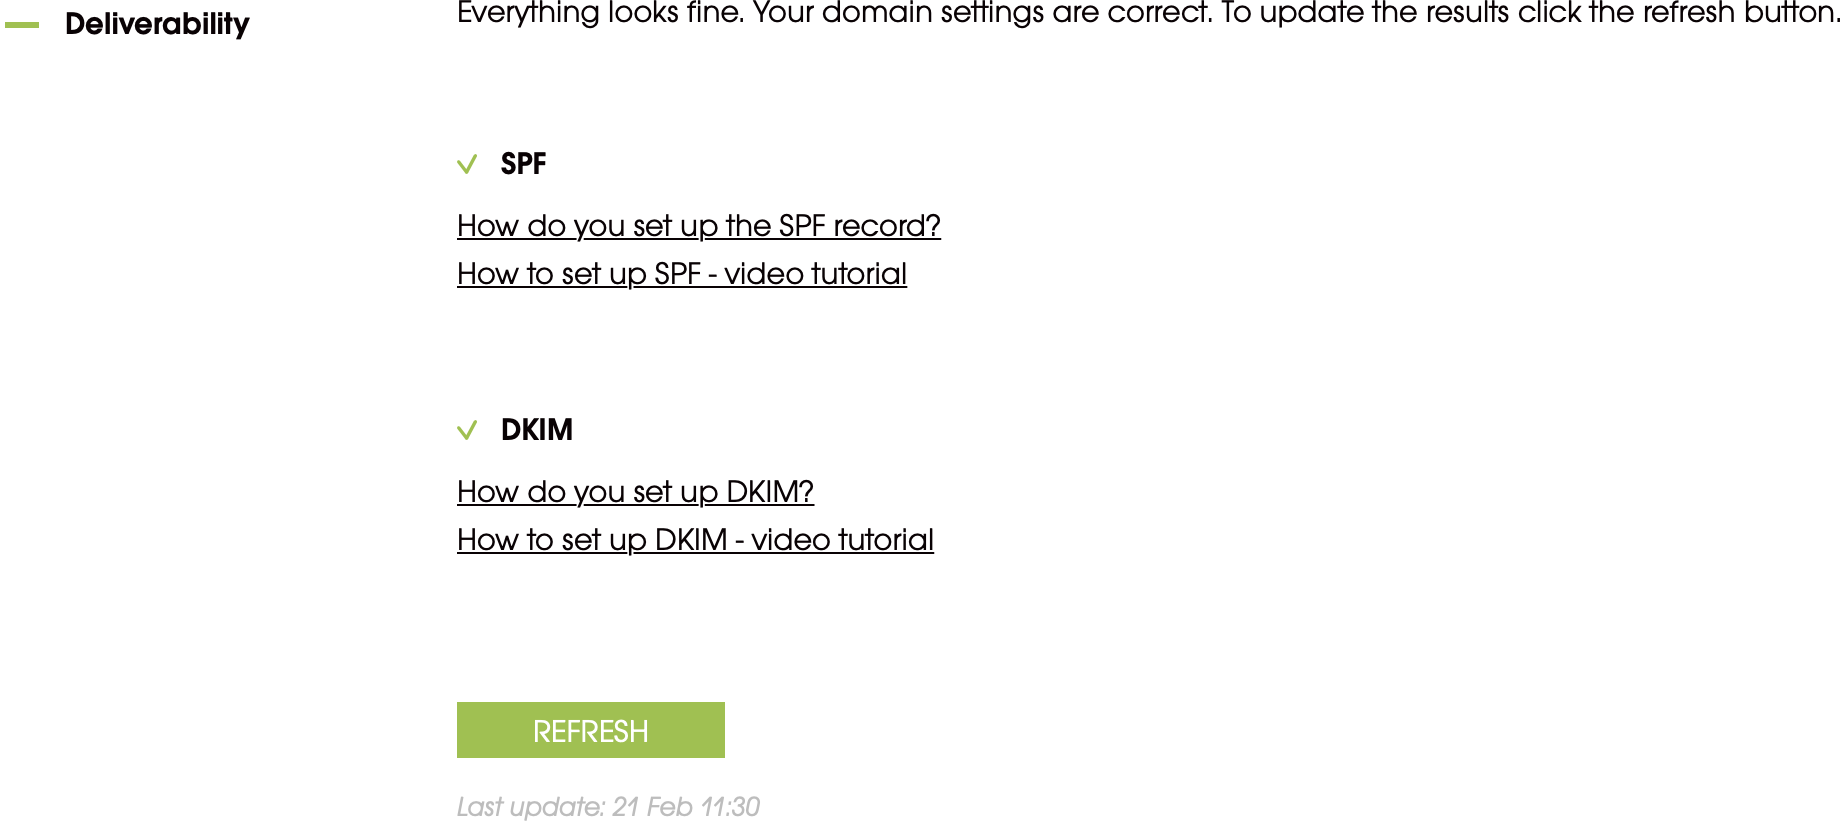
You can check if your SPF and DKIM records are properly set up in Woodpecker app, under the deliverability tab in your account settings.
If you have difficulties in setting up SPF and DKIM records, contact our support team and they will help you with that.
Want to learn more about SPF and DKIM, how they work, and how to configure them? Jump to our most-read blog post that is fully dedicated to this topic: What is DKIM & SPF? And how to set it up? >>
Step #4: Warm up your new domain and email address
Let’s go back to your domain reputation. Each newly created domain has a neutral reputation by default. It means that spam filters will keep a close eye on it and may be alarmed when you suddenly send a large number of emails. Your domain must earn its good reputation first before you start sending emails at scale.
To make that happen, you have to go through the process called domain warmup. The idea is to send just a handful of emails a day from your outbound mailbox to addressees who you know will respond to you, for example, your family, friends, or colleagues at work. Keep in mind that if you have more than one mailbox on this domain, you have to warm up each of them separately.
I suggest you send 5-10 emails a day and increase the number slowly over time. Warming up should last about three months. In the meantime, there are a few things you can take care of, for example building a prospect base and drafting an email copy. Check what else needs to be done:
8 Things to Take Care of In the Meantime You Warm up a Domain for Outreach >>
You can now send your first cold email campaign
When all is done, you’re ready to kick off your cold email campaign.
If you want to have a skyrocketing deliverability rate, ensure that your email copy is spam-free, your prospect base isn’t too big for a start, and that the other of 14 Deliverability Checks are ticked off. That’s super important, especially for beginners in cold emailing.
Good luck with your campaigns!