

Cold email software designed to get you replies
-
-
Agency
Run campaigns for all your clients from one panel perfect for agencies
START FREE TRIAL See more

- No credit card required
- 7-day trial
- Full access
Trusted by 13,000+ professionals
Easy to start. Easy to use.
Easy to get replies
Set up your first campaign in minutes
From onboarding to creating a campaign, you'll know what to do as soon as you log in.
Keep emails away from spam folders
Personalization and automation work together to ensure that your emails reach inboxes, not spam or promotion tabs.
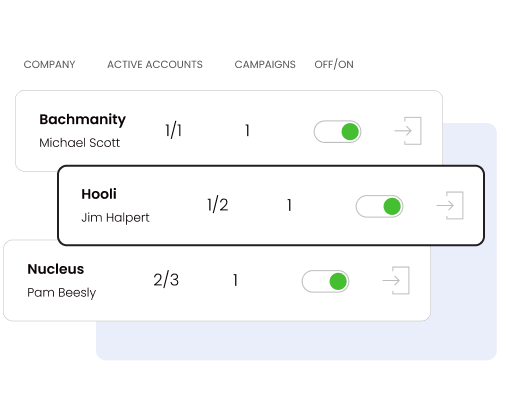
Easily manage all clients on one panel
Forget about constant logging in and out. Everything you need is one click away.
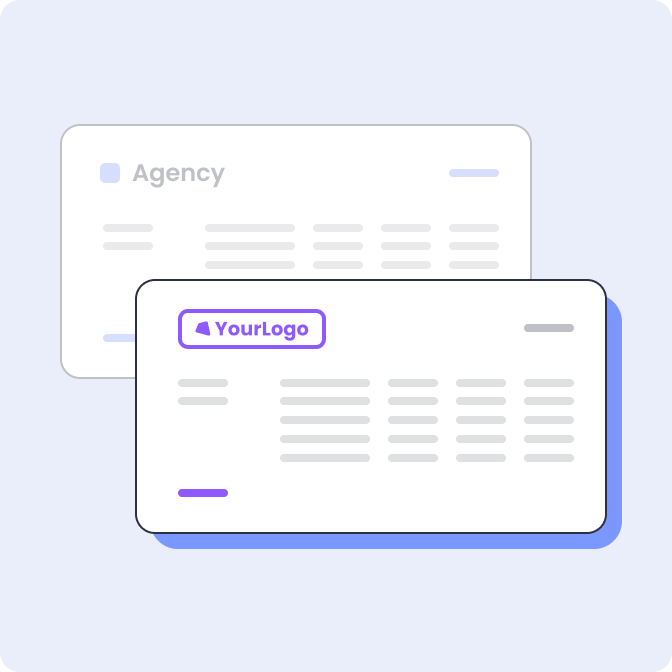
Your clients can track results on their own
They can see their campaign results whenever they want with a mobile-friendly app that has your branding on it.

No other product on the market allows you to scale one-to-one conversations with prospects and customers in such a personalized way.
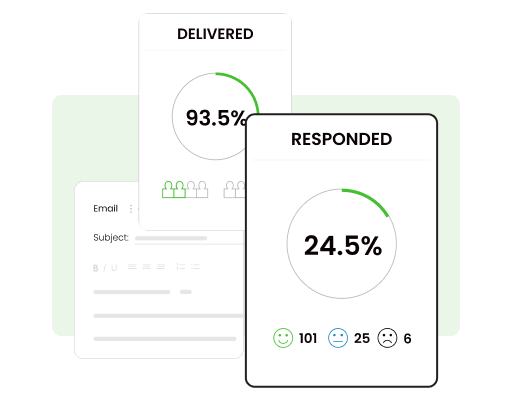
Send cold emails that reach inboxes, not spam folders

Warm-up
Automatically builds your sender reputation

Deliverability Monitor
Predicts and prevents sending issues

Sending Volume Monitor
Protects you from exceeding your sending limits
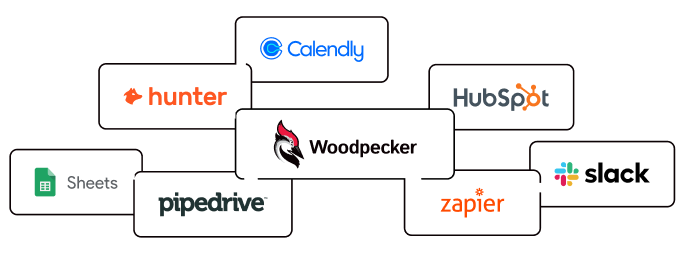
Woodpecker integrates right into your toolstack

The product has given me a great success rate in deliverability and taught me how I can reach more clients.
Woodpecker has been a game changer for us in our business development and We don't see us using any other service.
Woodpecker is the glue allowing our outbound sales process to scale up. I would guess 90% of the leads we get are enabled by Woodpecker at some level.