1
Follow the steps below or watch video
Signature installation steps
-
2
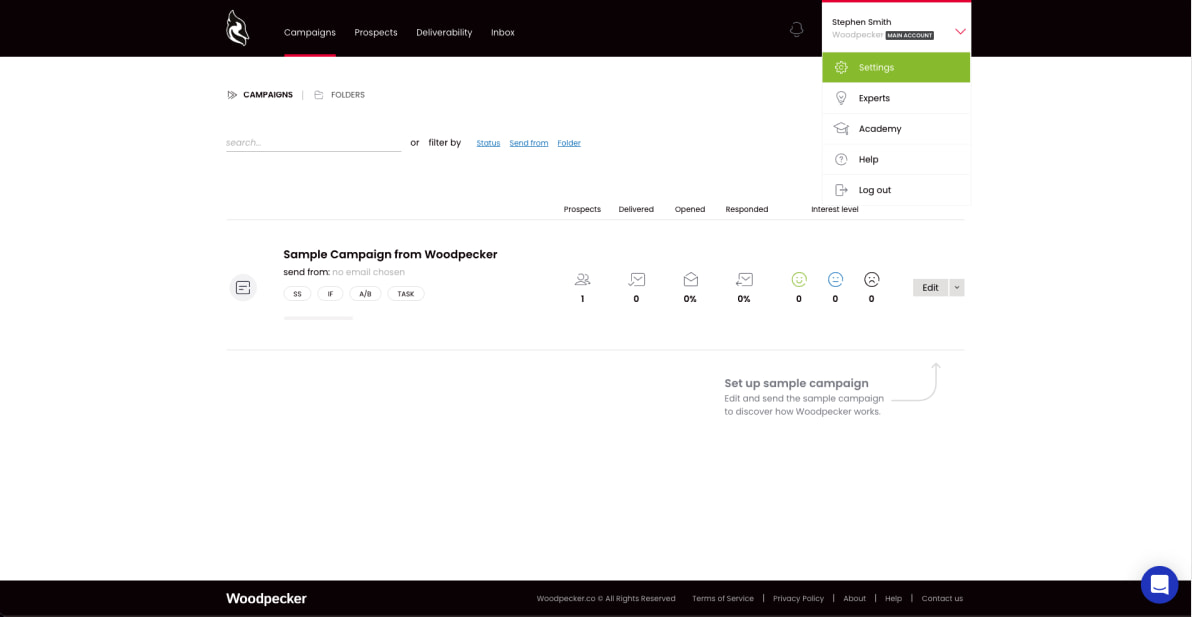
Open Woodpecker, hover over your username in the top right corner and click "Settings".
 3
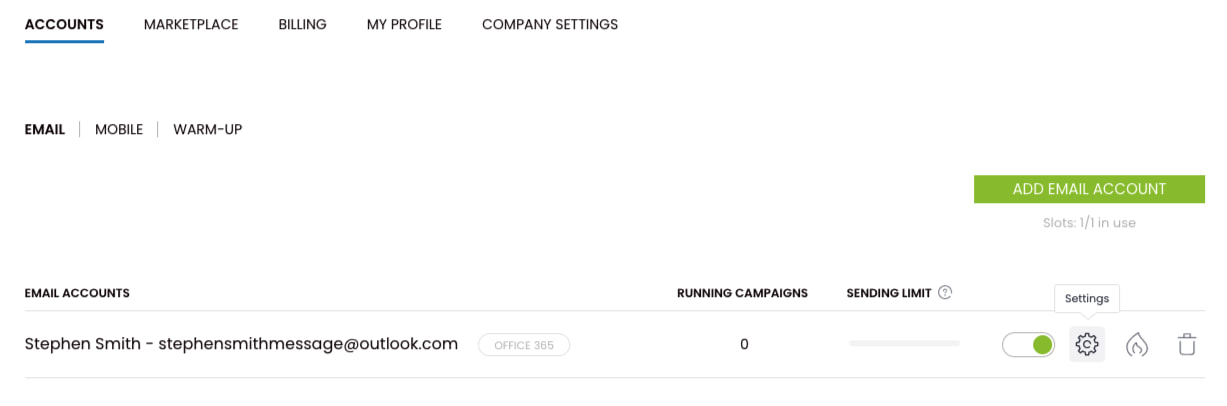
3Make sure you're in the Accounts>Email tab. Pick the email address you'd like to add your signature to. Click the gear icon in its row.
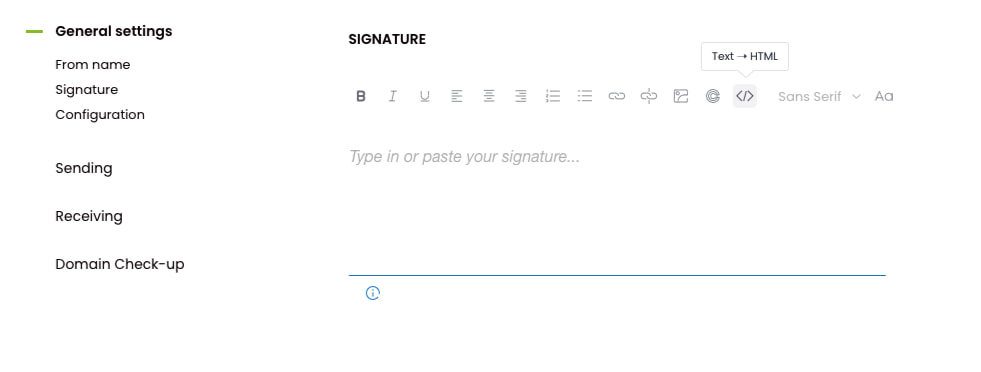
 4
4Once you're in the General settings, choose "Signature" from the left‑side menu. In the editor, click the </> symbol to switch the mode to HTML.
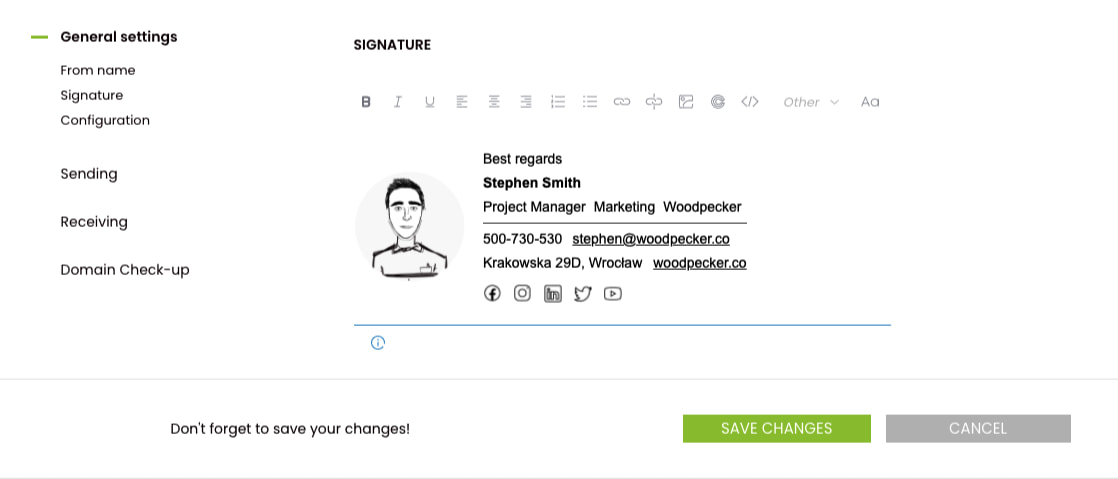
 5
5Paste your email signature source code. Next, click the </> symbol again to switch back to text mode. You'll see a visual preview of your signature. Click the "Save changes" button.
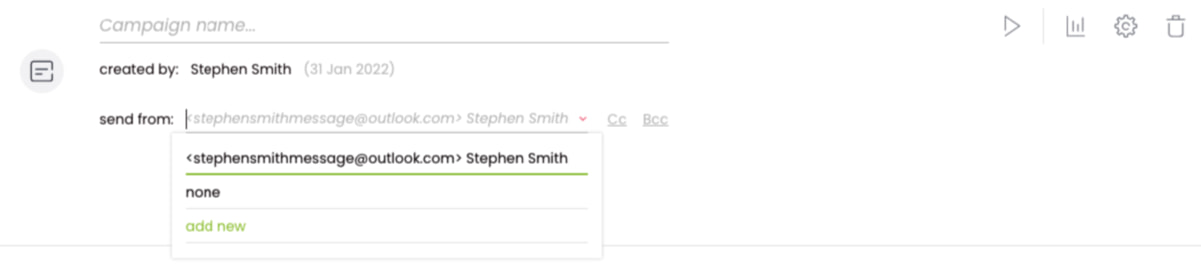
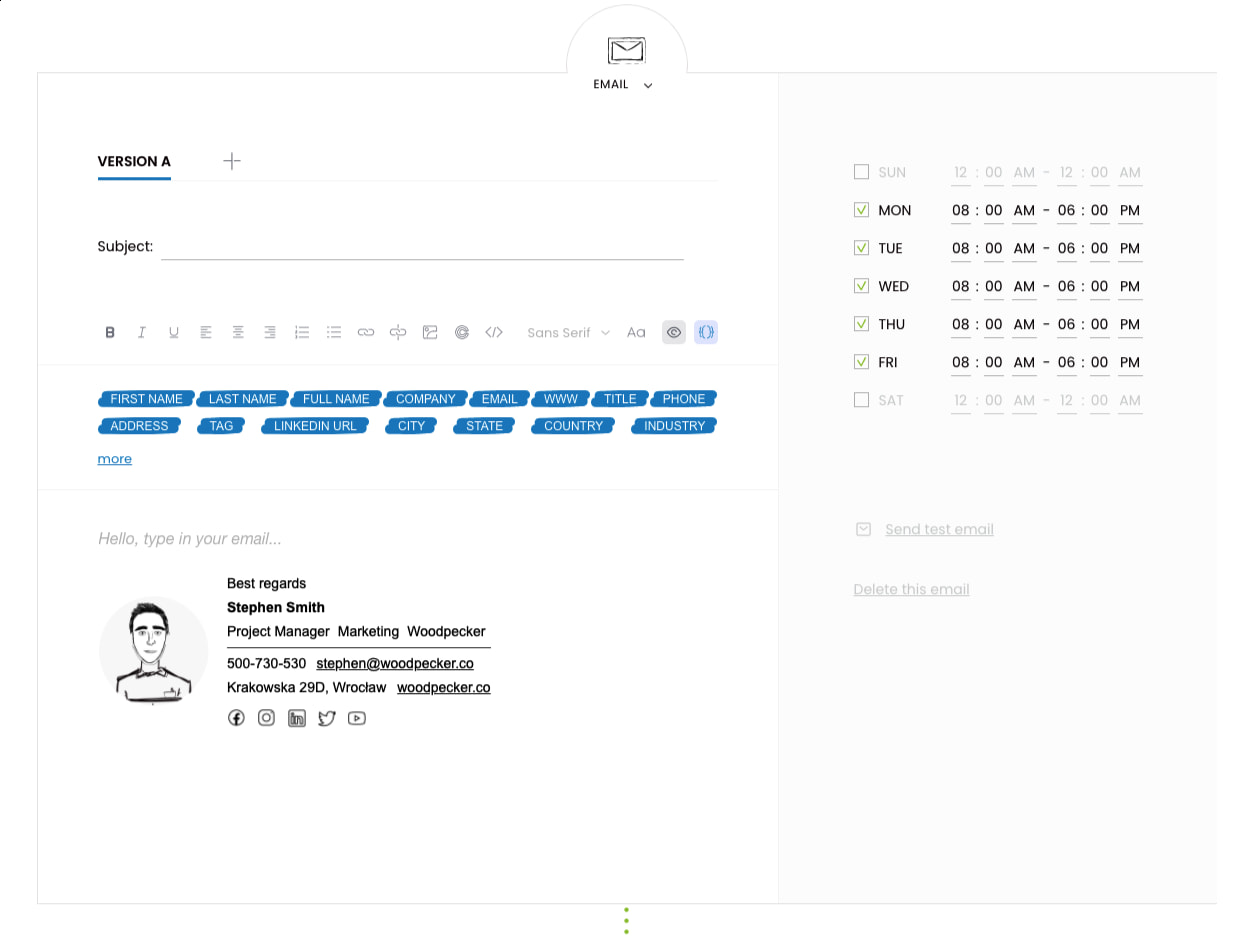
Create a new campaign and choose the email account you just added your signature to. Your newly created email signature will now appear in every email you send in your campaign.